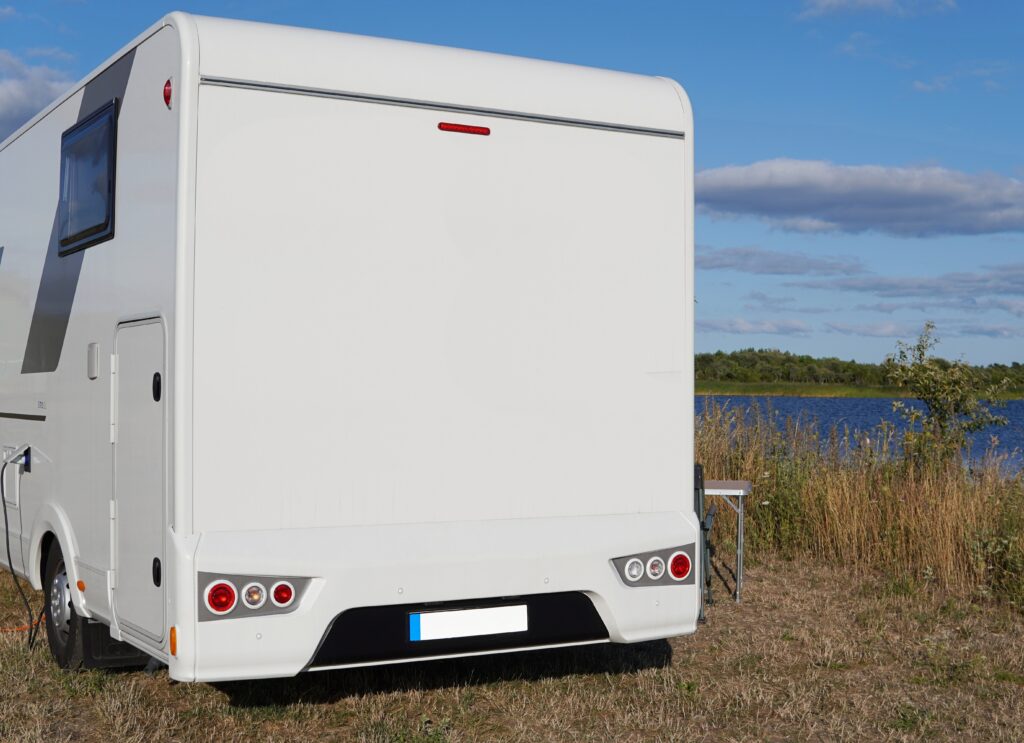
Your RV is not just a vehicle; it’s a home on wheels and a reflection of your personality and style. Over time, the exterior of your RV can start to look worn and outdated, particularly the decals. Replacing RV decals can rejuvenate your vehicle’s appearance and give it a fresh, modern look. In this blog, we’ll discuss the process of replacing RV decals, the benefits of updating your RV’s look, and tips for choosing new decals. When it comes to professional decal replacement and other RV services, Germaine RV is a top choice for quality and expertise.
The Process of Replacing RV Decals
1. Removing Old Decals
The first step in replacing RV decals is removing the old ones. This can be a meticulous process, but with the right tools and patience, it can be done effectively.
- Heat Application: Use a heat gun or hairdryer to warm the old decals. This softens the adhesive, making it easier to peel off the decals without damaging the RV’s surface.
- Peeling Off: Gently peel off the decals using a plastic scraper or your fingers. Be careful not to scratch the paint or fiberglass.
- Adhesive Removal: After the decals are removed, there will likely be some adhesive residue left behind. Use an adhesive remover or rubbing alcohol to clean the surface thoroughly.
2. Preparing the Surface
Before applying new decals, it’s essential to prepare the surface to ensure they adhere properly and look smooth.
- Cleaning: Wash the area with soap and water to remove any dirt and grime. Then, wipe it down with a degreaser to eliminate any remaining residues.
- Sanding: Lightly sand the surface with fine-grit sandpaper if there are any rough spots or old adhesive patches. Wipe clean afterward to remove dust.
3. Applying New Decals
Once the surface is prepped, it’s time to apply the new decals.
- Positioning: Position the new decals on the RV and secure them with masking tape to ensure they are correctly aligned. Measure and adjust as necessary.
- Application: Peel back a portion of the decal backing and begin applying it to the RV, starting from one end and working your way to the other. Use a squeegee to smooth out air bubbles and ensure a firm bond.
- Final Touches: Once the decal is fully applied, go over it with a soft cloth to ensure all edges are secure. Allow it to set for the recommended time before exposing it to water or harsh conditions.
Benefits of Updating Your RV’s Look
1. Enhanced Aesthetics
New decals can dramatically improve the appearance of your RV, making it look newer and more stylish. This can be particularly beneficial if you’re looking to sell your RV, as a fresh, modern look can attract more buyers and potentially increase the vehicle’s value.
2. Personalization
Updating your RV’s decals allows you to personalize your vehicle and make it truly your own. Whether you prefer bold graphics, subtle designs, or custom artwork, new decals can reflect your personality and taste.
3. Protection
High-quality decals can also protect your RV’s exterior from UV rays, scratches, and minor abrasions. They act as a barrier, preserving the underlying paint and fiberglass from damage.
Tips for Choosing New Decals
1. Consider Your Style
When selecting new decals, think about your style and what you want your RV to convey. Do you prefer classic designs, modern graphics, or custom artwork? Your RV is an extension of your home, so choose decals that reflect your taste and personality.
2. Quality Matters
Invest in high-quality decals that are designed to withstand the elements. Look for decals made from durable vinyl with UV-resistant properties to prevent fading and peeling over time.
3. Professional Installation
While DIY decal application is possible, professional installation ensures a flawless finish. If you’re not confident in your ability to apply decals smoothly, Germaine RV’s expertise guarantees a perfect application without bubbles or misalignment.
4. Custom Designs
If you want something unique, consider custom-designed decals. Many companies offer customization services where you can create a design that’s entirely your own. Custom decals can make your RV stand out and reflect your individuality.
Transform Your RV with Germaine RV
For those looking to transform their RV’s appearance, Germaine RV offers expert RV decal replacement services. Their skilled technicians can remove old decals, prepare the surface, and apply new decals with precision and care. Whether you want to refresh your RV’s look or completely redesign it, Germaine RV provides high-quality service to ensure your RV looks its best.
Conclusion
Replacing RV decals is an excellent way to update your vehicle’s appearance, enhance its value, and express your style. By understanding the decal replacement process and following these tips, you can achieve a fresh, modern look for your RV. For professional decal replacement and other RV services, trust Germaine RV to deliver exceptional results. With their expertise and dedication to quality, your RV will be ready to hit the road in style.

